Integrating Practice Information Management Software (PIMS)
Note: This feature will be available with select PIMS soon.
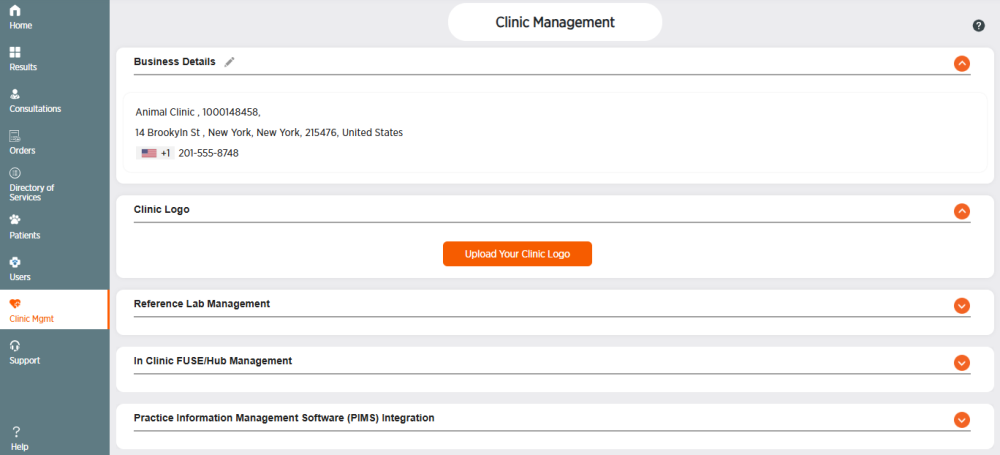
The Practice Information Management Software (PIMS) Integration section displays the clinic PIMS and allows clinic administrators to add PIMS or delete PIMS. Adding PIMS creates an embedded experience integration with the PIMS. This feature is available with select PIMS only.
Adding PIMS
Follow these steps to add PIMS.
-
Choose Clinic Mgmt from the side menu.
-
Click
 in the Practice Information Management Software (PIMS) Integration section.
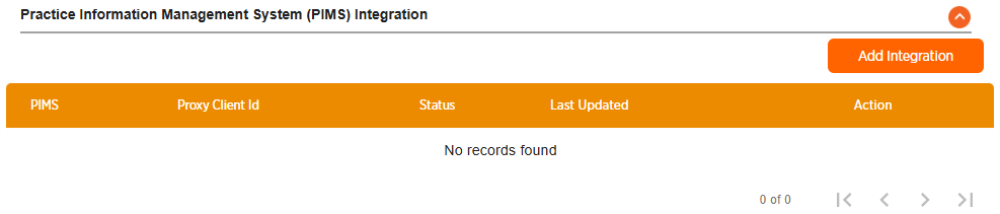
-
Click Add Integration.
-
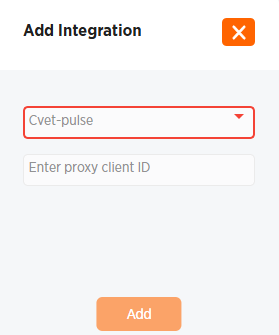
Choose your PIMS from the drop-down menu.
-
Enter the Proxy Client ID from your PIMS in the Enter Proxy Client ID field. For help with getting this ID, contact your PIMS.
-
Click Add to add your PIMS, or X to cancel. If you selected Add, the Your integration is almost ready screen appears.
-
Click the copy icon next to the code to copy the code to your clipboard (or write the code down).
-
Click Close to exit the screen, or Link to PIMS if available. The new PIMS will show a status of Pending in the Practice Information Management Software (PIMS) Integration section.
-
Open your PIMS if the Link to PIMS button was not available.
-
Go to the OTP (one-time passcode) verification section. For help getting to this section, contact your PIMS.
-
Paste or enter your code.
-
Click Verify. You will receive notification that your connection was successful.
-
The new PIMS will now show a status of Active in the Practice Information Management Software (PIMS) Integration section in ZoetisDx.
Deleting PIMS
Follow these steps to delete your PIMS.
-
Choose Clinic Mgmt from the side menu.
-
Click
 in the Practice Information Management Software (PIMS) Integration section.
 -
Click
 in the Action column of the Practice Information Management Software (PIMS) Integration section.
 -
Click Yes to delete your PIMS or Cancel to exit.